This documentation is available as Markdown for AI agents and LLMs. See the full Markdown index or append .md to any documentation URL.
Deploy to production with Expo Workflows
Edit page
Learn how to deploy to production with Expo Workflows.
Deploy to production with an AI agent
Paste this into Claude, Cursor, Codex, or another agent.
Set up a workflow that deploys my app to production with Expo Workflows. Use https://docs.expo.dev/eas/workflows/examples/deploy-to-production.md as the source for each command and file.

1. Check that EAS CLI is installed and up to date. If it is not, run `npm install -g eas-cli`.
2. Check that I am logged in with `eas whoami`. If I am not, stop and ask me to run `eas login` or to set `EXPO_TOKEN`. Do not print a token.
3. If the project does not have an Expo Services project ID, ask me before you run `eas init`.
4. If eas.json does not have a `production` build profile, ask me to run `eas build:configure` in my terminal.
5. If the app config does not have `updates.url`, run `eas update:configure --non-interactive`.
6. Ask me if the credentials for the `production` profile are set up. If they are not, ask me to run these commands in my terminal, because they ask me to sign in or to select a key. Do not ask for my Apple ID, my password, or a key file.
   - `eas credentials:configure-build -p ios -e production` for the iOS build.
   - `eas credentials --platform ios` to set up an App Store Connect API key for Expo Submit.
   - `eas credentials --platform android` to set up a Google Service Account key for Expo Submit.
7. Write the workflow from the page to .eas/workflows/deploy-to-production.yml.
8. Ask me before you run the workflow, because it can submit builds to the app stores or send an update to my production users. If I agree, run `eas workflow:run .eas/workflows/deploy-to-production.yml --non-interactive --wait --json`.
9. If the run fails, find the failed job in the JSON output, run `eas workflow:logs <job ID> --non-interactive`, and tell me which job failed and why. Do not change credentials without asking me.
10. Give me the workflow run link from the command output. Tell me which files you changed and which commands you ran.
11. Tell me that the workflow runs on each push to `main` only when my GitHub repository is linked to the project in the Expo dashboard. Do not push commits without asking me.
When you're ready to deliver changes to your users, you can build and submit to the app stores or you can send an over-the-air update. The following workflow detects if you need new builds, and if so, it sends them to the app stores. If new builds are not required, it will send an over-the-air update.
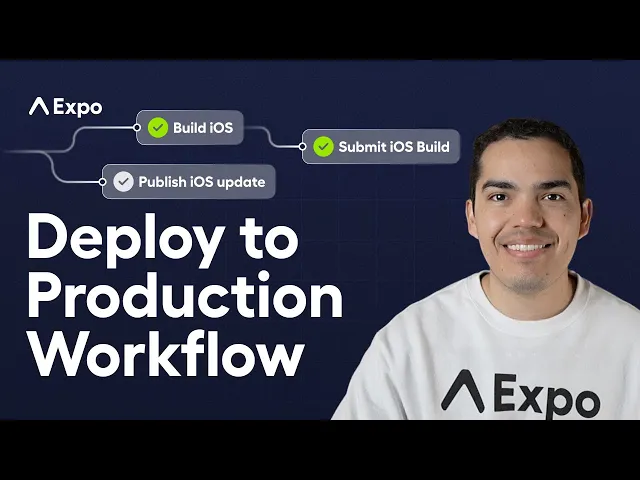
Automate your production releases with Expo Workflows to build, submit to app stores, or send an update when new builds aren't needed.
Get started
3 requirements
3 requirements
1.
To set up Expo Build, follow this guide:
Get your project ready for Expo Build.
2.
To set up Expo Submit, follow the Google Play Store and Apple App Store submissions guides:
Get your project ready for Google Play Store submissions.
Get your project ready for Apple App Store submissions.
3.
And finally, you'll need to set up Expo Update, which you can do with:
The following workflow runs on each push to the main branch and performs the following:
- Takes a hash of the native characteristics of the project using Expo Fingerprint.
- Checks if a build already exists for the fingerprint.
- If a build does not exist, it will build the project and submit it to the app stores.
- If a build exists, it will send an over-the-air update.