Get started with EAS Workflows
Edit this page
Learn how to use EAS Workflows to automate your React Native CI/CD development and release processes.
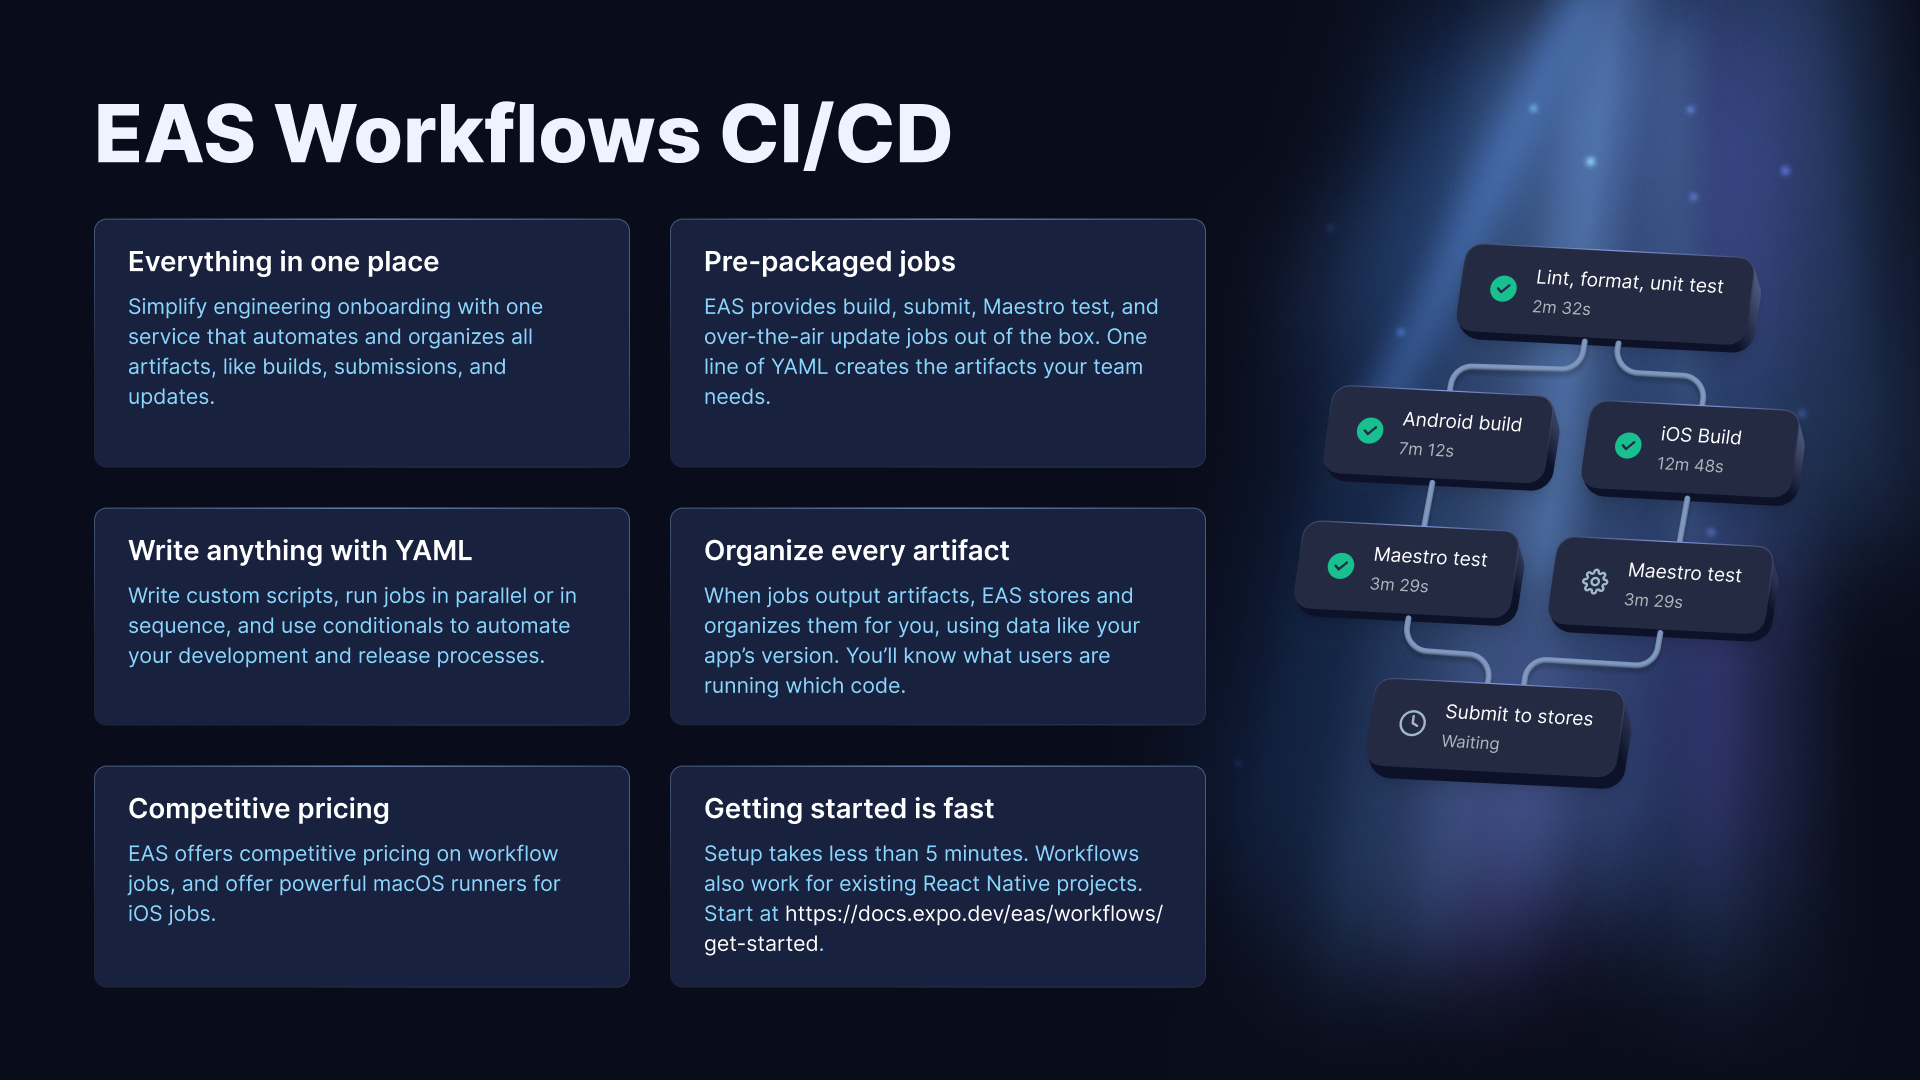
EAS Workflows allow you to automate your development and release processes. It's a React Native CI/CD service that can build and submit your biweekly app store releases, create preview updates for every commit, and more.

Learn how to automate some of the most common processes that every app development team must tackle: creating development builds, publishing preview updates, and deploying to production.
How do workflows compare to other CI services?
EAS Workflows are designed to help you and your team release your app. It comes preconfigured with pre-packaged job types that can build, submit, update, run Maestro tests, and more. All job types run on EAS, so you'll only have to manage one set of YAML files, and all the artifacts from your job runs will appear on expo.dev.
Other CI services, like CircleCI and GitHub Actions, are more generalized and have the ability to do more than workflows. However, those services also require you to understand more about the implementation of each job. While that is necessary in some cases, workflows help you get common tasks done quickly by pre-packaging the most essential types of jobs for app developers. In addition, workflows are designed to provide you with the fastest possible cloud machine for the task at hand, and we're constantly updating those for you.
EAS Workflows are great for operations related to your Expo apps, while other CI/CD services will provide a better experience for other types of workflows.
Get started
4 requirements
4 requirements
1.
Sign up for an Expo account
You'll need to sign up for an Expo account.
2.
Create a project
You'll need to create a project with the following command:
- npx create-expo-app@latest3.
Sync the project with EAS
You'll need to sync the project with EAS with the following command. This will create an EAS project and link it to your local project:
- npx eas-cli@latest init4.
Add eas.json
You'll need to add an eas.json file to the root of your project if it doesn't already exist:
- touch eas.json && echo "{}" > eas.json1
Create a directory named .eas/workflows at the root of your project with a YAML file inside of it. For example: .eas/workflows/create-production-builds.yml.
my-app.easworkflowscreate-production-builds.ymleas.json2
Add the following YAML to the create-production-builds.yml file:
name: Create Production Builds

jobs:
  build_android:
    type: build # This job type creates a production build for Android
    params:
      platform: android
  build_ios:
    type: build # This job type creates a production build for iOS
    params:
      platform: ios
The workflow above will create a production build for Android and iOS in parallel. To run this workflow successfully, you'll need to set up and build your project using EAS CLI first.
3
Finally, run the workflow with the following command:
- npx eas-cli@latest workflow:run create-production-builds.ymlOnce you do, you can see your workflow running on your project's workflows page.
More
Automate workflows with GitHub events
You can trigger a workflow by pushing a commit to your GitHub repository. You can link a GitHub repo to your EAS project with the following steps:
- Navigate to your project's GitHub settings.
- Follow the UI to install the GitHub app.
- Select the GitHub repository that matches the Expo project and connect it.
Then, add the on trigger to your workflow file. For example, if you want to trigger the workflow when a commit is pushed to the main branch, you can add the following:
name: Create Production Builds

on:
  push:
    branches: ['main']

  jobs:
    build_android:
      type: build
      params:
        platform: android
    build_ios:
      type: build
VS Code extension
Download the Expo Tools VS Code extension to get descriptions and autocompletions for your workflow files.
Got feedback or feature requests? Send us an email at workflows@expo.dev.
