This documentation is available as Markdown for AI agents and LLMs. See the full Markdown index or append .md to any documentation URL.
Add gestures
Edit page
In this tutorial, learn how to implement gestures from React Native Gesture Handler and Reanimated libraries.
Gestures are a great way to provide an intuitive user experience in an app. The React Native Gesture Handler library provides built-in native components that can handle gestures. It recognizes pan, tap, rotation, and other gestures using the platform's native touch handling system. In this chapter, we'll add two different gestures using this library:
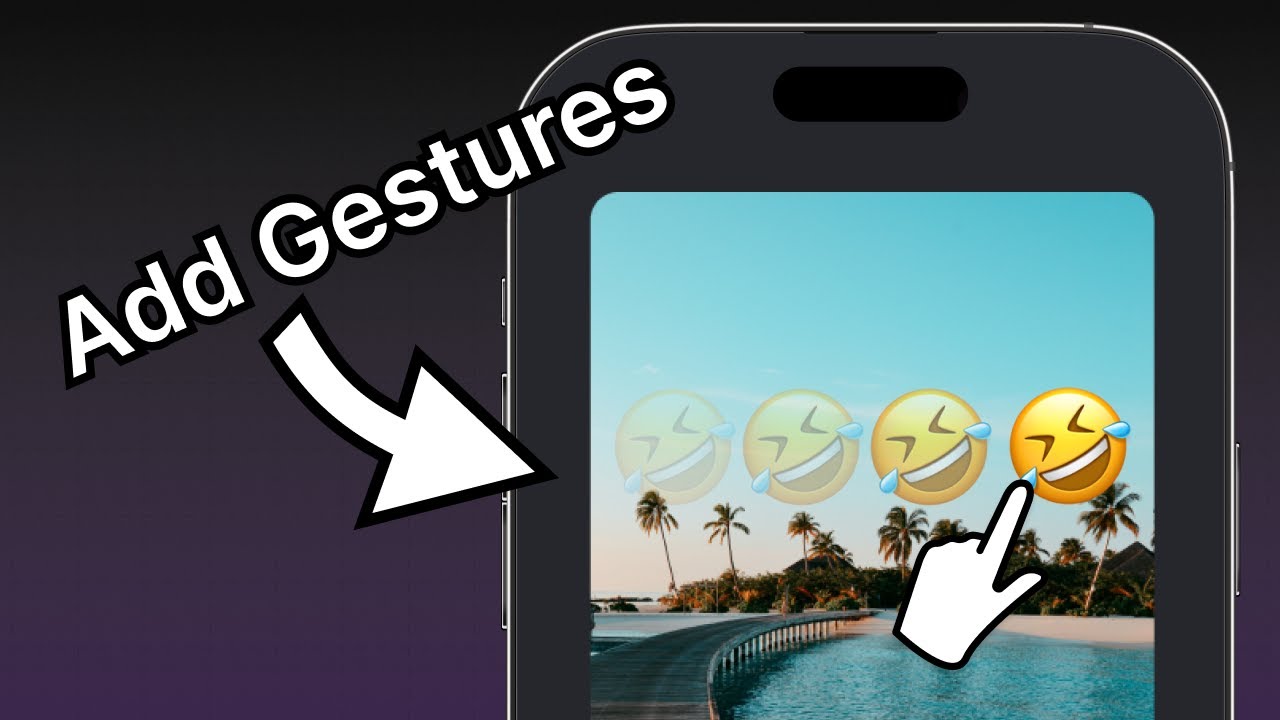
- Double tap to scale the size of the emoji sticker and reduce the scale when double tapped again.
- Pan to move the emoji sticker around the screen so that the user can place the sticker anywhere on the image.
We'll also use the Reanimated library to animate between gesture states.
Add double tap and pan gestures to the emoji sticker using React Native Gesture Handler and Reanimated.
1
Add GestureHandlerRootView
To get gesture interactions to work in the app, we'll render <GestureHandlerRootView> from react-native-gesture-handler at the top of Index component. Replace the root level <View> component in the app/(tabs)/index.tsx with <GestureHandlerRootView>.
// ... rest of the import statements remain same
import { GestureHandlerRootView } from 'react-native-gesture-handler';

export default function Index() {
  return (
    <GestureHandlerRootView style={styles.container}>
      {/* ...rest of the code remains */}
    </GestureHandlerRootView>
  )
}
2
Use animated components
An Animated component looks at the style prop of the component and determines which values to animate and apply updates to create an animation. Reanimated exports animated components such as <Animated.View>, <Animated.Text>, or <Animated.ScrollView>. We will apply animations to the <Animated.Image> component to make a double tap gesture work.
- Open the EmojiSticker.tsx file in the components directory. Inside it, import
Animatedfrom thereact-native-reanimatedlibrary to use animated components. - Replace the
Imagecomponent with<Animated.Image>.
import { ImageSourcePropType, View } from 'react-native';
import Animated from 'react-native-reanimated';

type Props = {
  imageSize: number;
  stickerSource: ImageSourcePropType;
};

export default function EmojiSticker({ imageSize, stickerSource }: Props) {
  return (
    <View style={{ top: -350 }}>
      <Animated.Image
        source={stickerSource}
        resizeMode="contain"
        style={{ width: imageSize, height: imageSize }}
      />
    </View>
  );
}
For a complete reference of the animated component API, see React Native Reanimated documentation.
3
Add a tap gesture
React Native Gesture Handler allows us to add behavior when it detects touch input, like a double tap event.
In the EmojiSticker.tsx file:
- Import
GestureandGestureDetectorfromreact-native-gesture-handler. - To recognize the tap on the sticker, import
useAnimatedStyle,useSharedValue, andwithSpringfromreact-native-reanimatedto animate the style of the<Animated.Image>. - Inside the
EmojiStickercomponent, create a reference calledscaleImageusing theuseSharedValue()hook. It will take the value ofimageSizeas its initial value.
// ...rest of the import statements remain same
import { Gesture, GestureDetector } from 'react-native-gesture-handler';
import Animated, { useAnimatedStyle, useSharedValue, withSpring } from 'react-native-reanimated';

export default function EmojiSticker({ imageSize, stickerSource }: Props) {
  const scaleImage = useSharedValue(imageSize);

  return (
    // ...rest of the code remains same
  )
}
Creating a shared value using the useSharedValue() hook has many advantages. It helps to mutate data and runs animations based on the current value. We can access and modify the shared value using the .value property. We'll create a doubleTap object to scale the initial value and use Gesture.Tap() to animate the transition while scaling the sticker image. To determine the number of taps required, we'll add numberOfTaps().
Create the following object in the EmojiSticker component:
const doubleTap = Gesture.Tap()
  .numberOfTaps(2)
  .onStart(() => {
    if (scaleImage.value !== imageSize * 2) {
      scaleImage.value = scaleImage.value * 2;
    } else {
      scaleImage.value = Math.round(scaleImage.value / 2);
    }
  });
To animate the transition, let's use a spring-based animation. This will make it feel alive because it's based on the real-world physics of a spring. We will use the withSpring() function provided by react-native-reanimated.
On the sticker image, we'll use the useAnimatedStyle() hook to create a style object. This will help us to update styles using shared values when the animation happens. We'll also scale the size of the image by manipulating the width and height properties. The initial values of these properties are set to imageSize.
Create an imageStyle variable and add it to the EmojiSticker component:
const imageStyle = useAnimatedStyle(() => {
  return {
    width: withSpring(scaleImage.value),
    height: withSpring(scaleImage.value),
  };
});
Next, wrap the <Animated.Image> component with the <GestureDetector> and modify the style prop on the <Animated.Image> to pass the imageStyle.
import { ImageSourcePropType, View } from 'react-native';
import { Gesture, GestureDetector } from 'react-native-gesture-handler';
import Animated, { useAnimatedStyle, useSharedValue, withSpring } from 'react-native-reanimated';

type Props = {
  imageSize: number;
  stickerSource: ImageSourcePropType;
};

export default function EmojiSticker({ imageSize, stickerSource }: Props) {
  const scaleImage = useSharedValue(imageSize);

  const doubleTap = Gesture.Tap()
    .numberOfTaps(2)
    .onStart(() => {
      if (scaleImage.value !== imageSize * 2) {
        scaleImage.value = scaleImage.value * 2;
      } else {
        scaleImage.value = Math.round(scaleImage.value / 2);
      }
    });

  const imageStyle = useAnimatedStyle(() => {
    return {
      width: withSpring(scaleImage.value),
      height: withSpring(scaleImage.value),
    };
  });

  return (
    <View style={{ top: -350 }}>
      <GestureDetector gesture={doubleTap}>
        <Animated.Image
          source={stickerSource}
          resizeMode="contain"
          style={[imageStyle, { width: imageSize, height: imageSize }]}
        />
      </GestureDetector>
    </View>
  );
}
In the above snippet, the gesture prop takes the value of the doubleTap to trigger a gesture when a user double-taps the sticker image.
Let's take a look at our app on Android, iOS and the web:
For a complete reference of the tap gesture API, see the React Native Gesture Handler documentation.
4
Add a pan gesture
To recognize a dragging gesture on the sticker and to track its movement, we'll use a pan gesture. In the components/EmojiSticker.tsx:
- Create two new shared values:
translateXandtranslateY. - Replace the
<View>with the<Animated.View>component.
export default function EmojiSticker({ imageSize, stickerSource }: Props) {
  const scaleImage = useSharedValue(imageSize);
  const translateX = useSharedValue(0);
  const translateY = useSharedValue(0);
  // ...rest of the code remains same

  return (
    <Animated.View style={{ top: -350 }}>
      <GestureDetector gesture={doubleTap}>
        {/* ...rest of the code remains same */}
      </GestureDetector>
    </Animated.View>
  );
}
Let's learn what the above code does:
- The translation values defined will move the sticker around the screen. Since the sticker moves along both axes, we need to track the X and Y values.
- In the
useSharedValue()hooks, we have set both translation variables to have an initial position of0. This is the sticker's initial position and a starting point. This value sets the sticker's initial position when the gesture starts.
In the previous step, we triggered the onStart() callback for the tap gesture chained to the Gesture.Tap() method. For the pan gesture, specify an onChange() callback, which runs when the gesture is active and moving.
- Create a
dragobject to handle the pan gesture. TheonChange()callback acceptseventas a parameter.changeXandchangeYproperties hold the change in position since the last event and update the values stored intranslateXandtranslateY. - Define the
containerStyleobject using theuseAnimatedStyle()hook. It will return an array of transforms. For the<Animated.View>component, we need to set thetransformproperty to thetranslateXandtranslateYvalues. This will change the sticker's position when the gesture is active.
const drag = Gesture.Pan().onChange(event => {
  translateX.value += event.changeX;
  translateY.value += event.changeY;
});

const containerStyle = useAnimatedStyle(() => {
  return {
    transform: [
      {
        translateX: translateX.value,
      },
      {
        translateY: translateY.value,
      },
    ],
  };
});
Next, inside the JSX code:
- Update the
<EmojiSticker>component so that the<GestureDetector>component becomes the top-level component. - Add the
containerStyleon the<Animated.View>component to apply the transform styles.
import { Gesture, GestureDetector } from 'react-native-gesture-handler';
import Animated, { useAnimatedStyle, useSharedValue, withSpring } from 'react-native-reanimated';
import { ImageSourcePropType } from 'react-native';

type Props = {
  imageSize: number;
  stickerSource: ImageSourcePropType;
};

export default function EmojiSticker({ imageSize, stickerSource }: Props) {
  const scaleImage = useSharedValue(imageSize);
  const translateX = useSharedValue(0);
  const translateY = useSharedValue(0);

  const doubleTap = Gesture.Tap()
    .numberOfTaps(2)
    .onStart(() => {
      if (scaleImage.value !== imageSize * 2) {
        scaleImage.value = scaleImage.value * 2;
      } else {
        scaleImage.value = Math.round(scaleImage.value / 2);
      }
    });

  const imageStyle = useAnimatedStyle(() => {
    return {
      width: withSpring(scaleImage.value),
      height: withSpring(scaleImage.value),
    };
  });

  const drag = Gesture.Pan().onChange(event => {
    translateX.value += event.changeX;
    translateY.value += event.changeY;
  });

  const containerStyle = useAnimatedStyle(() => {
    return {
      transform: [
        {
          translateX: translateX.value,
        },
        {
          translateY: translateY.value,
        },
      ],
    };
  });

  return (
    <GestureDetector gesture={drag}>
      <Animated.View style={[containerStyle, { top: -350 }]}>
        <GestureDetector gesture={doubleTap}>
          <Animated.Image
            source={stickerSource}
            resizeMode="contain"
            style={[imageStyle, { width: imageSize, height: imageSize }]}
          />
        </GestureDetector>
      </Animated.View>
    </GestureDetector>
  );
}
Let's take a look at our app on Android, iOS and the web:
Summary
Chapter 6: Add gestures
We've successfully implemented pan and tap gestures.
In the next chapter, we'll learn how to take a screenshot of the image and the sticker, and save it on the device's library.