This documentation is available as Markdown for AI agents and LLMs. See the full Markdown index or append .md to any documentation URL.
Handle platform differences
Edit page
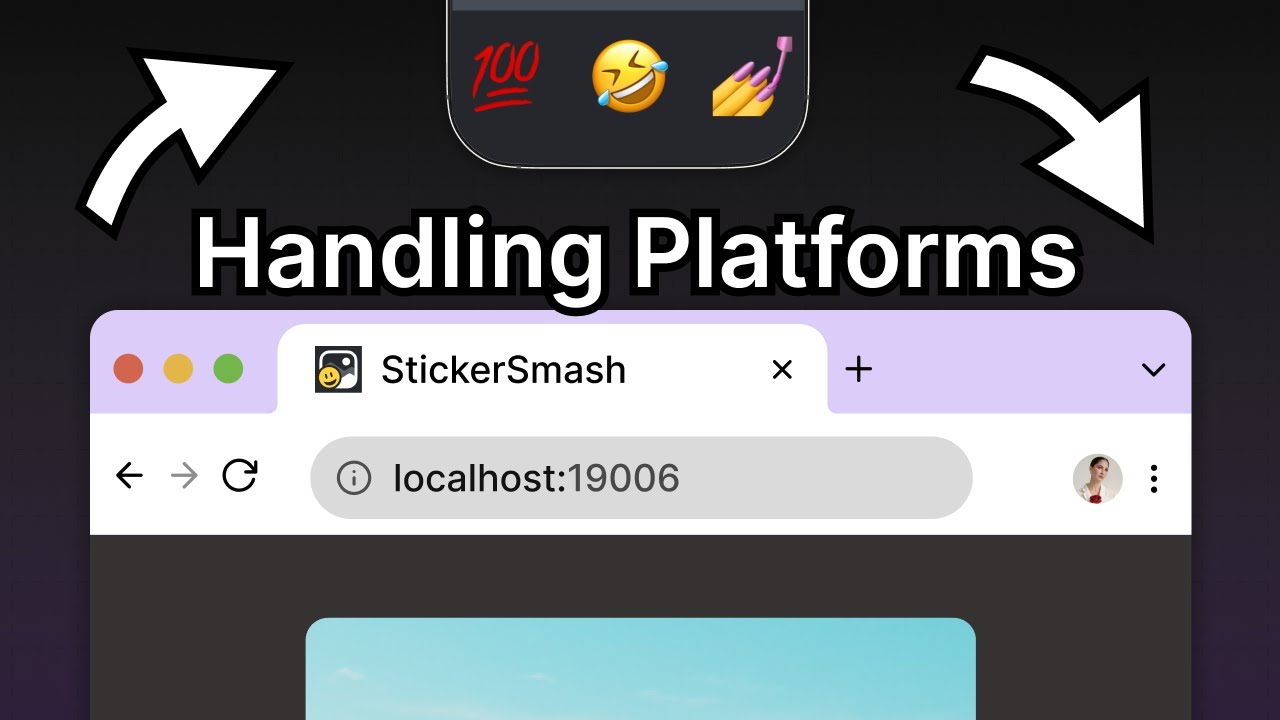
In this tutorial, learn how to handle platform differences between native and web when creating a universal app.
Android, iOS, and the web have different capabilities. In our case, both Android and iOS can capture a screenshot with the react-native-view-shot library. However, web browsers cannot.
In this chapter, we'll learn how to handle capturing screenshots for web browsers so our app has the same functionality on all platforms.
Handle platform differences between Android, iOS, and web by implementing platform-specific screenshot capture with dom-to-image.
1
Install and import dom-to-image
To capture a screenshot on the web and save it as an image, we'll use a third-party library called dom-to-image. It takes a screenshot of any DOM node and turns it into a vector (SVG) or raster (PNG or JPEG) image.
Stop the development server and run the following command to install the library:
- npm install dom-to-imageNote: The
dom-to-imagelibrary is used here for illustrative purposes. For production apps, you may want to explore other solutions or APIs that better suit your specific use case.
After installing it, make sure to restart the development server and press W in the terminal.
2
Add platform-specific code
Using Platform module from React Native, we can implement platform-specific behavior. Inside app/(tabs)/index.tsx:
- Import the
Platformmodule fromreact-native. - Import the
domtoimagelibrary fromdom-to-image. - Update the
onSaveImageAsync()function to check whether the current platform is'web'with thePlatform.OSproperty. If it is'web', we'll use thedomtoimage.toJpeg()method to convert and capture the current<View>as a JPEG image. Otherwise, we'll keep using the same logic added for native platforms.
import * as ImagePicker from 'expo-image-picker';
import * as MediaLibrary from 'expo-media-library';
import { useEffect, useRef, useState } from 'react';
import { ImageSourcePropType, View, StyleSheet, Platform } from 'react-native';
import { GestureHandlerRootView } from 'react-native-gesture-handler';
import { captureRef } from 'react-native-view-shot';
import domtoimage from 'dom-to-image';

import Button from '@/components/Button';
import ImageViewer from '@/components/ImageViewer';
import IconButton from '@/components/IconButton';
import CircleButton from '@/components/CircleButton';
import EmojiPicker from '@/components/EmojiPicker';
import EmojiList from '@/components/EmojiList';
import EmojiSticker from '@/components/EmojiSticker';

const PlaceholderImage = require('@/assets/images/background-image.png');

export default function Index() {
  const [selectedImage, setSelectedImage] = useState<string | undefined>(undefined);
  const [showAppOptions, setShowAppOptions] = useState<boolean>(false);
  const [isModalVisible, setIsModalVisible] = useState<boolean>(false);
  const [pickedEmoji, setPickedEmoji] = useState<ImageSourcePropType | undefined>(undefined);
  const [permissionResponse, requestPermission] = ImagePicker.useMediaLibraryPermissions();
  const imageRef = useRef<View>(null);

  useEffect(() => {
    if (!permissionResponse?.granted) {
      requestPermission();
    }
  }, []);

  const pickImageAsync = async () => {
    let result = await ImagePicker.launchImageLibraryAsync({
      mediaTypes: ['images'],
      allowsEditing: true,
      quality: 1,
    });

    if (!result.canceled) {
      setSelectedImage(result.assets[0].uri);
      setShowAppOptions(true);
    } else {
      alert('You did not select any image.');
    }
  };

  const onReset = () => {
    setShowAppOptions(false);
  };

  const onAddSticker = () => {
    setIsModalVisible(true);
  };

  const onModalClose = () => {
    setIsModalVisible(false);
  };

  const onSaveImageAsync = async () => {
    if (Platform.OS !== 'web') {
      try {
        const localUri = await captureRef(imageRef, {
          height: 440,
          quality: 1,
        });

        await MediaLibrary.saveToLibraryAsync(localUri);
        if (localUri) {
          alert('Saved!');
        }
      } catch (e) {
        console.log(e);
      }
    } else {
      try {
        const dataUrl = await domtoimage.toJpeg(imageRef.current, {
          quality: 0.95,
          width: 320,
          height: 440,
        });

        let link = document.createElement('a');
        link.download = 'sticker-smash.jpeg';
        link.href = dataUrl;
        link.click();
      } catch (e) {
        console.log(e);
      }
    }
  };

  return (
    <GestureHandlerRootView style={styles.container}>
      <View style={styles.imageContainer}>
        <View ref={imageRef} collapsable={false}>
          <ImageViewer imgSource={PlaceholderImage} selectedImage={selectedImage} />
          {pickedEmoji && <EmojiSticker imageSize={40} stickerSource={pickedEmoji} />}
        </View>
      </View>
      {showAppOptions ? (
        <View style={styles.optionsContainer}>
          <View style={styles.optionsRow}>
            <IconButton icon="refresh" label="Reset" onPress={onReset} />
            <CircleButton onPress={onAddSticker} />
            <IconButton icon="save-alt" label="Save" onPress={onSaveImageAsync} />
          </View>
        </View>
      ) : (
        <View style={styles.footerContainer}>
          <Button theme="primary" label="Choose a photo" onPress={pickImageAsync} />
          <Button label="Use this photo" onPress={() => setShowAppOptions(true)} />
        </View>
      )}
      <EmojiPicker isVisible={isModalVisible} onClose={onModalClose}>
        <EmojiList onSelect={setPickedEmoji} onCloseModal={onModalClose} />
      </EmojiPicker>
    </GestureHandlerRootView>
  );
}

const styles = StyleSheet.create({
  container: {
    flex: 1,
    backgroundColor: '#25292e',
    alignItems: 'center',
  },
  imageContainer: {
    flex: 1,
  },
  footerContainer: {
    flex: 1 / 3,
    alignItems: 'center',
  },
  optionsContainer: {
    position: 'absolute',
    bottom: 80,
  },
  optionsRow: {
    alignItems: 'center',
    flexDirection: 'row',
  },
});
Fix dom-to-image TypeScript module error
We need to add a type definition after importing the domtoimage library since we're using TypeScript. We can do this by creating a file types.d.ts in the root of our project directory and adding the declaration statement:
declare module 'dom-to-image';
On running the app in a web browser, we can now save a screenshot:
Summary
Chapter 8: Handle platform differences
The app does everything we set out for it to do, so it's time to shift our focus toward the purely aesthetic..
In the next chapter, we will customize the app's status bar, splash screen, and app icon.