This documentation is available as Markdown for AI agents and LLMs. See the full Markdown index or append .md to any documentation URL.
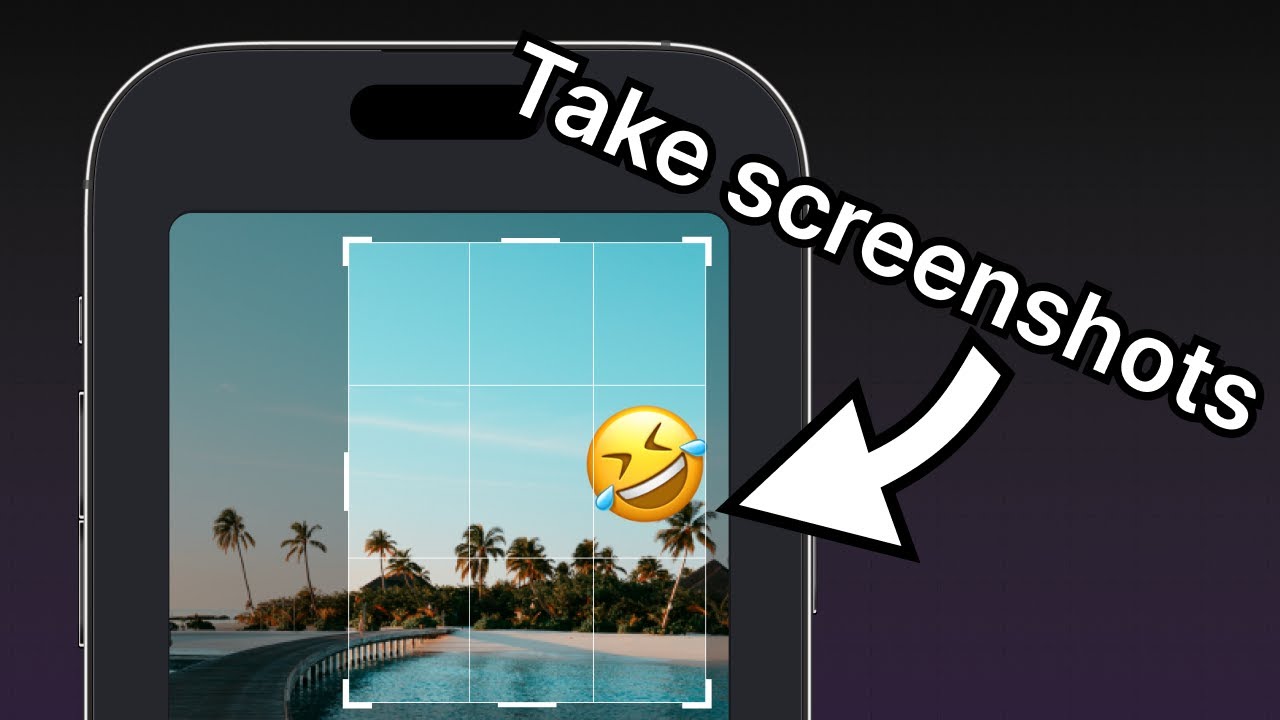
Take a screenshot
Edit page
In this tutorial, learn how to capture a screenshot using a third-party library and Expo Media Library.
In this chapter, we'll learn how to take a screenshot using a third-party library and save it on the device's media library. We'll use react-native-view-shot to take a screenshot and expo-media-library to save an image on device's media library.
So far, we have used third-party libraries, such asreact-native-gesture-handler,react-native-reanimated. We can find hundreds of other third-party libraries on React Native Directory depending on a use case.
Capture a screenshot with react-native-view-shot and save it to the device's media library using expo-media-library.
1
2
Prompt for permissions
An app that requires sensitive information, such as accessing a device's media library, has to prompt permission to allow or deny access. Using useMediaLibraryPermissions() hook from expo-image-picker, we can use the permission permissionResponse and requestPermission() method to ask for access. This hook requests both read and write permissions, which covers picking images from the library and saving screenshots to it.
When the app loads for the first time and the permission status is neither granted nor denied, the value of the permissionResponse is null. When asked for permission, a user can either grant the permission or deny it. We can add a condition to check if it is not granted. If it is not granted, trigger the requestPermission() method. After getting the access, the value of the permissionResponse changes to granted.
Add the following code snippet inside the src/app/(tabs)/index.tsx:
import { useEffect, useState } from 'react';
import * as ImagePicker from 'expo-image-picker';

// ...rest of the code remains same

export default function Index() {
  const [permissionResponse, requestPermission] = ImagePicker.useMediaLibraryPermissions();
  // ...rest of the code remains same

  useEffect(() => {
    if (!permissionResponse?.granted) {
      requestPermission();
    }
  }, []);

  // ...rest of the code remains same
}
3
Create a ref to save the current view
We'll use react-native-view-shot to allow the user to take a screenshot within the app. This library captures the screenshot of a <View> as an image using the captureRef() method. It returns the URI of the captured screenshot image file.
- Import
captureReffromreact-native-view-shotanduseReffrom React. - Create an
imageRefreference variable to store the reference of the screenshot image captured. - Wrap the
<ImageViewer>and<EmojiSticker>components inside a<View>and then pass the reference variable to it.
import { useState, useRef } from 'react';
import { captureRef } from 'react-native-view-shot';

export default function Index() {
  const imageRef = useRef<View>(null);

  // ...rest of the code remains same

  return (
    <GestureHandlerRootView style={styles.container}>
      <View style={styles.imageContainer}>
        <View ref={imageRef} collapsable={false}>
          <ImageViewer imgSource={PlaceholderImage} selectedImage={selectedImage} />
          {pickedEmoji && <EmojiSticker imageSize={40} stickerSource={pickedEmoji} />}
        </View>
      </View>
      {/* ...rest of the code remains same */}
    </GestureHandlerRootView>
  );
}
In the above snippet, the collapsable prop is set to false. This allows the <View> component to screenshot only of the background image and emoji sticker.
4
Capture a screenshot and save it
We can capture a screenshot of the view by calling the captureRef() method from react-native-view-shot inside the onSaveImageAsync() function. It accepts an optional argument where we can pass the width and height of the screenshot capturing area. We can read more about available options in the library's documentation.
The captureRef() method also returns a promise that fulfills with the screenshot's URI. We will pass this URI as a parameter to MediaLibrary.saveToLibraryAsync() and save the screenshot to the device's media library.
Inside app/(tabs)/index.tsx, update the onSaveImageAsync() function with the following code:
import * as ImagePicker from 'expo-image-picker';
import * as MediaLibrary from 'expo-media-library';
import { useEffect, useRef, useState } from 'react';
import { ImageSourcePropType, StyleSheet, View } from 'react-native';
import { GestureHandlerRootView } from 'react-native-gesture-handler';
import { captureRef } from 'react-native-view-shot';

import Button from '@/components/Button';
import CircleButton from '@/components/CircleButton';
import EmojiList from '@/components/EmojiList';
import EmojiPicker from '@/components/EmojiPicker';
import IconButton from '@/components/IconButton';
import ImageViewer from '@/components/ImageViewer';

import EmojiSticker from '@/components/EmojiSticker';

const PlaceholderImage = require('@/assets/images/background-image.png');

export default function Index() {
  const [selectedImage, setSelectedImage] = useState<string | undefined>(
    undefined
  );
  const [showAppOptions, setShowAppOptions] = useState<boolean>(false);
  const [isModalVisible, setIsModalVisible] = useState<boolean>(false);
  const [pickedEmoji, setPickedEmoji] = useState<
    ImageSourcePropType | undefined
  >(undefined);
  const [permissionResponse, requestPermission] = ImagePicker.useMediaLibraryPermissions();
  const imageRef = useRef<View>(null);

  useEffect(() => {
    if (!permissionResponse?.granted) {
      requestPermission();
    }
  }, []);

  const pickImageAsync = async () => {
    let result = await ImagePicker.launchImageLibraryAsync({
      mediaTypes: ['images'],
      allowsEditing: true,
      quality: 1,
    });

    if (!result.canceled) {
      setSelectedImage(result.assets[0].uri);
      setShowAppOptions(true);
    } else {
      alert('You did not select any image.');
    }
  };

  const onReset = () => {
    setShowAppOptions(false);
  };

  const onAddSticker = () => {
    setIsModalVisible(true);
  };

  const onModalClose = () => {
    setIsModalVisible(false);
  };

  const onSaveImageAsync = async () => {
    try {
      const localUri = await captureRef(imageRef, {
        height: 440,
        quality: 1,
      });

      await MediaLibrary.saveToLibraryAsync(localUri);
      if (localUri) {
        alert('Saved!');
      }
    } catch (e) {
      console.log(e);
    }
  };

  return (
    <GestureHandlerRootView style={styles.container}>
      <View style={styles.imageContainer}>
        <View ref={imageRef} collapsable={false}>
          <ImageViewer imgSource={PlaceholderImage} selectedImage={selectedImage} />
          {pickedEmoji && <EmojiSticker imageSize={40} stickerSource={pickedEmoji} />}
        </View>
      </View>
      {showAppOptions ? (
        <View style={styles.optionsContainer}>
          <View style={styles.optionsRow}>
            <IconButton icon="refresh" label="Reset" onPress={onReset} />
            <CircleButton onPress={onAddSticker} />
            <IconButton icon="save-alt" label="Save" onPress={onSaveImageAsync} />
          </View>
        </View>
      ) : (
        <View style={styles.footerContainer}>
          <Button theme="primary" label="Choose a photo" onPress={pickImageAsync} />
          <Button label="Use this photo" onPress={() => setShowAppOptions(true)} />
        </View>
      )}
      <EmojiPicker isVisible={isModalVisible} onClose={onModalClose}>
        <EmojiList onSelect={setPickedEmoji} onCloseModal={onModalClose} />
      </EmojiPicker>
    </GestureHandlerRootView>
  );
}

const styles = StyleSheet.create({
  container: {
    flex: 1,
    backgroundColor: '#25292e',
    alignItems: 'center',
  },
  imageContainer: {
    flex: 1,
  },
  footerContainer: {
    flex: 1 / 3,
    alignItems: 'center',
  },
  optionsContainer: {
    position: 'absolute',
    bottom: 80,
  },
  optionsRow: {
    alignItems: 'center',
    flexDirection: 'row',
  },
});
Now, choose a photo and add a sticker in the app. Then tap the "Save" button. We should see the following result on Android and iOS:
Summary
Chapter 7: Take a screenshot
We've successfully used react-native-view-shot and expo-media-library to capture a screenshot and save it on the device's library.
In the next chapter, let's learn how to handle the differences between mobile and web platforms to implement the same functionality on web.