This documentation is available as Markdown for AI agents and LLMs. See the full Markdown index or append .md to any documentation URL.
Create your first app
Edit page
In this chapter, learn how to create a new Expo project.
In this chapter, let's learn how to create a new Expo project and how to get it running.
Create a new Expo project from scratch and get it running on Android, iOS, and web.
4 requirements
4 requirements
1.
Install Expo Go on a physical Android or iOS device.
2.
Install Node.js (LTS version) on your machine.
3.
Install VS Code or any other preferred code editor or IDE.
4.
A macOS, Linux, or Windows (PowerShell and WSL2) with a terminal window open.
This tutorial assumes you are familiar with TypeScript and React. If you are not, check out the TypeScript Handbook and React's official tutorial.
1
Initialize a new Expo app
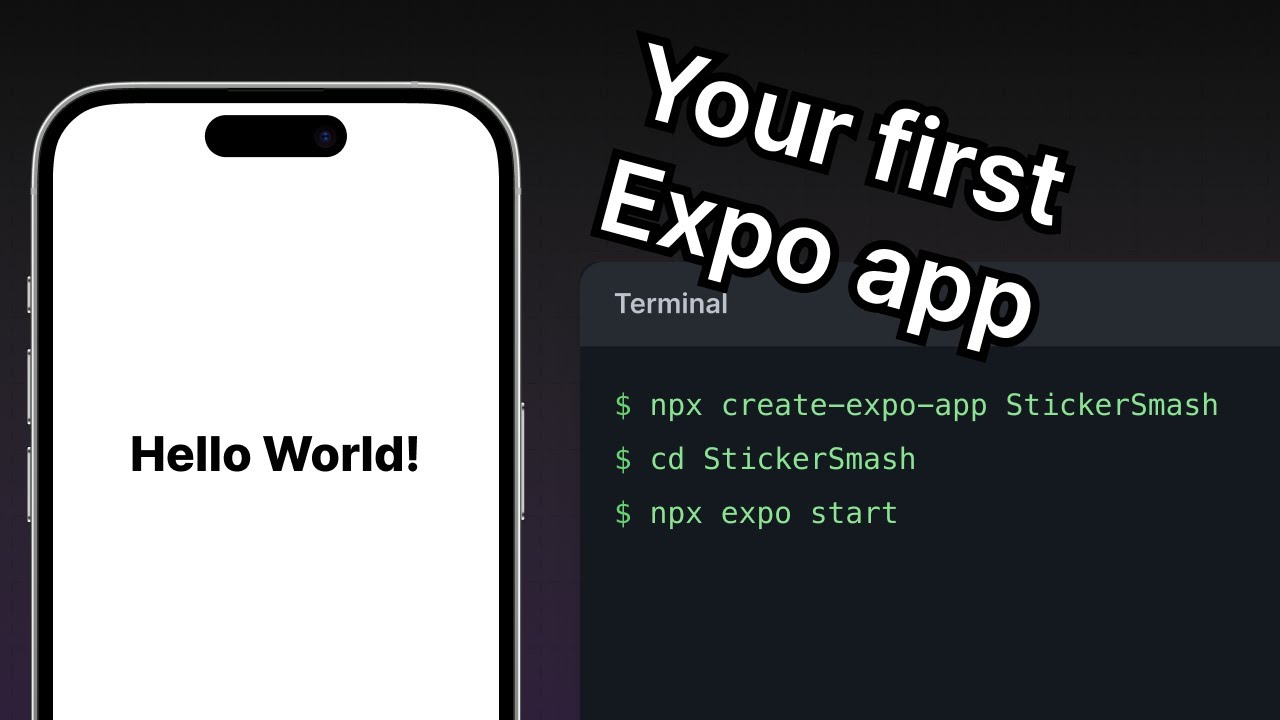
We'll use create-expo-app to initialize a new Expo app. It is a command-line tool to create a new React Native project. Run the following command in your terminal:
# Create a project named StickerSmash- npx create-expo-app@latest StickerSmash# CLI will prompt you to choose a template. Select SDK 54.- Select an Expo SDK version > SDK 54# Navigate to the project directory- cd StickerSmashcreate-expo-app@latestcurrently asks to select an Expo SDK template. This tutorial is designed for SDK 54, so make sure to select the SDK 54 template.
This command will create a new project directory named StickerSmash, using the SDK 54's default template. This template has essential boilerplate code and libraries needed to build our app, including Expo Router and allows us to test our app with Expo Go installed on our devices. We'll continue to add more libraries throughout this tutorial as needed.
Benefits of using the default template
- Creates a new React Native project with
expopackage installed - Includes recommended tools such as Expo CLI
- Includes a tab navigator from Expo Router to provide a basic navigation system
- Automatically configured to run a project on multiple platforms: Android, iOS, and web
- TypeScript configured by default
2
Download assets
We'll be using these assets throughout this tutorial.
After downloading the archive:
- Unzip the archive and replace the default assets in the your-project-name/assets/images directory.
- Open the project directory in a code editor or IDE.
3
Run reset-project script
In this tutorial, we'll build our app from scratch and understand the fundamentals of adding a file-based navigation. Let's run the reset-project script to remove the boilerplate code:
- npm run reset-projectAfter running the above command, there are two files (index.tsx and _layout.tsx) left inside the app directory. The previous files from app and other directories (components, constants, and hooks — containing boilerplate code) are moved inside the app-example directory by the script. We'll create our own directories and component files as we go along.
4
Run the app on mobile and web
In the project directory, run the following command to start the development server from the terminal:
- npx expo startAfter running the above command:
- The development server will start, and you'll see a QR code inside the terminal window.
- Scan that QR code to open the app on the device. On Android, use the Expo Go > Scan QR code option. On iOS, use the default camera app.
- To run the web app, press W in the terminal. It will open the web app in the default web browser.
Once it is running on all platforms, the app should look like this:
5
Edit the index screen
The app/index.tsx file defines the text displayed on the app's screen. It is the entry point of our app and executes when the development server starts. It uses core React Native components such as <View> and <Text> to display background and text.
Styles applied to these components use JavaScript objects rather than CSS, which is used on web. However, a lot of the properties will look familiar if you've previously used CSS on web. Most React Native components accept a style prop that accepts a JavaScript object as its value. For more details, see Styling in React Native.
Let's modify app/index.tsx screen:
- Import
StyleSheetfromreact-nativeand create astylesobject to define our custom styles. - Add a
styles.container.backgroundColorproperty to<View>with the value of#25292e. This changes the background color. - Replace the default value of
<Text>with "Home screen". - Add a
styles.text.colorproperty to<Text>with the value of#fff(white) to change the text color.
import { Text, View, StyleSheet } from 'react-native';

export default function Index() {
  return (
    <View style={styles.container}>
      <Text style={styles.text}>Home screen</Text>
    </View>
  );
}

const styles = StyleSheet.create({
  container: {
    flex: 1,
    backgroundColor: '#25292e',
    alignItems: 'center',
    justifyContent: 'center',
  },
  text: {
    color: '#fff',
  },
});
React Native uses the same color format as the web. It supports hex triplets (this is what
#fffis),rgba,hsl, and named colors, such asred,green,blue,peru, andpapayawhip. For more information, see Colors in React Native.
Once you save your changes, they're sent and applied to the running apps connected to the development server:
Summary
Chapter 1: Create your first app
We've successfully created a new Expo project, used React Native core components, and are ready to develop our StickerSmash app.
In the next chapter, we will learn how to add a stack and a tab navigator to our app.