This documentation is available as Markdown for AI agents and LLMs. See the full Markdown index or append .md to any documentation URL.
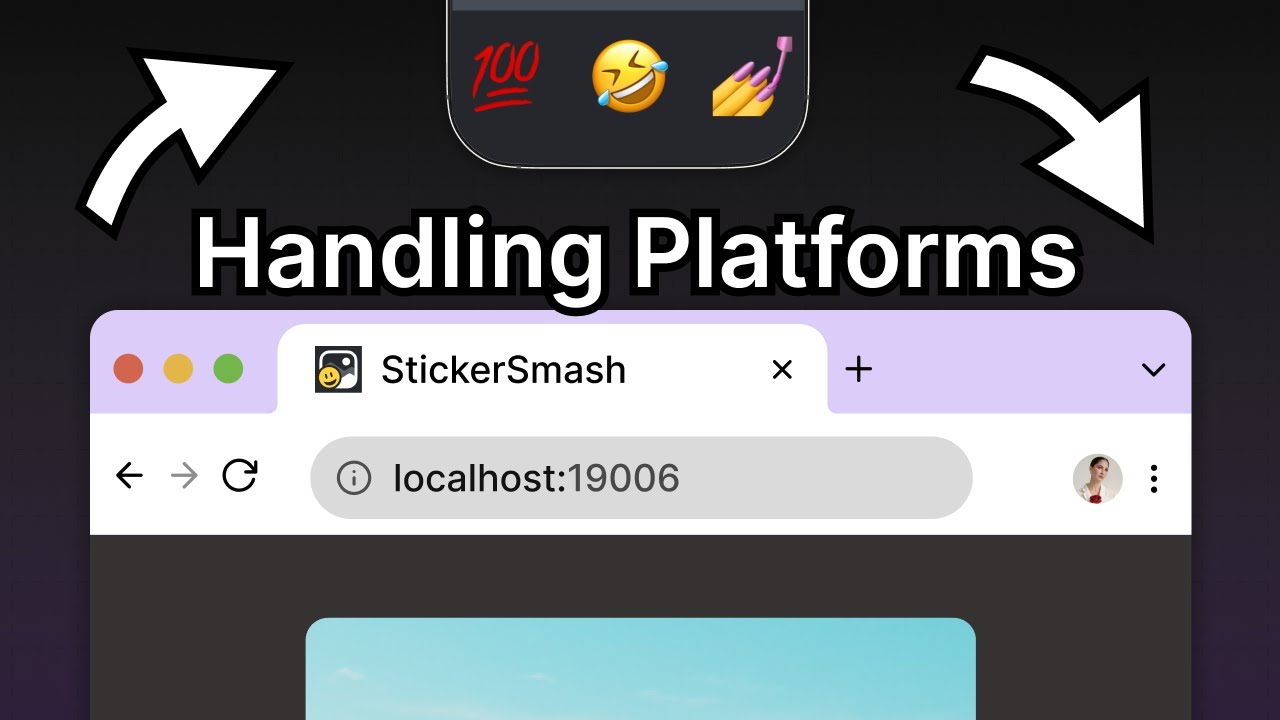
プラットフォームの違いに対応する
ページを編集
このチュートリアルでは、ユニバーサルアプリの作成時にネイティブと web のプラットフォームの違いに対応する方法を学びます。
Android、iOS、web はそれぞれ異なる機能を持っています。今回のケースでは、Android と iOS は react-native-view-shot ライブラリでスクリーンショットを撮影できますが、web ブラウザではできません。
この章では、web ブラウザでもスクリーンショットを撮影できるようにし、すべてのプラットフォームで同じ機能をアプリに持たせる方法を学びます。
dom-to-image を使ってプラットフォーム固有のスクリーンショット撮影を実装し、Android、iOS、web 間のプラットフォームの違いに対応します。
1
dom-to-image をインストールしてインポートする
web でスクリーンショットを撮影して画像として保存するため、dom-to-image というサードパーティのライブラリを使用します。このライブラリは任意の DOM ノードのスクリーンショットを撮影し、ベクター画像 (SVG) またはラスター画像 (PNG または JPEG) に変換します。
開発サーバーを停止し、次のコマンドを実行してライブラリをインストールしてみましょう。
- npm install dom-to-image注: ここで使用している
dom-to-imageライブラリは、説明のためのものです。本番アプリでは、用途に応じてより適した他のソリューションや API も検討してみてください。
インストールが完了したら、開発サーバーを再起動し、ターミナルで W を押します。
2
プラットフォーム固有のコードを追加する
React Native の Platform モジュールを使用すると、プラットフォーム固有の動作を実装できます。app/(tabs)/index.tsx で次の手順を行います。
react-nativeからPlatformモジュールをインポートします。dom-to-imageからdomtoimageライブラリをインポートします。Platform.OSプロパティを使って現在のプラットフォームが'web'かどうかを判定するようにonSaveImageAsync()関数を更新します。'web'の場合は、domtoimage.toJpeg()メソッドを使って現在の<View>を JPEG 画像として変換・撮影します。それ以外の場合は、ネイティブプラットフォーム用に追加した同じロジックをそのまま使用します。
import * as ImagePicker from 'expo-image-picker';
import * as MediaLibrary from 'expo-media-library';
import { useEffect, useRef, useState } from 'react';
import { ImageSourcePropType, View, StyleSheet, Platform } from 'react-native';
import { GestureHandlerRootView } from 'react-native-gesture-handler';
import { captureRef } from 'react-native-view-shot';
import domtoimage from 'dom-to-image';

import Button from '@/components/Button';
import ImageViewer from '@/components/ImageViewer';
import IconButton from '@/components/IconButton';
import CircleButton from '@/components/CircleButton';
import EmojiPicker from '@/components/EmojiPicker';
import EmojiList from '@/components/EmojiList';
import EmojiSticker from '@/components/EmojiSticker';

const PlaceholderImage = require('@/assets/images/background-image.png');

export default function Index() {
  const [selectedImage, setSelectedImage] = useState<string | undefined>(undefined);
  const [showAppOptions, setShowAppOptions] = useState<boolean>(false);
  const [isModalVisible, setIsModalVisible] = useState<boolean>(false);
  const [pickedEmoji, setPickedEmoji] = useState<ImageSourcePropType | undefined>(undefined);
  const [permissionResponse, requestPermission] = ImagePicker.useMediaLibraryPermissions();
  const imageRef = useRef<View>(null);

  useEffect(() => {
    if (!permissionResponse?.granted) {
      requestPermission();
    }
  }, []);

  const pickImageAsync = async () => {
    let result = await ImagePicker.launchImageLibraryAsync({
      mediaTypes: ['images'],
      allowsEditing: true,
      quality: 1,
    });

    if (!result.canceled) {
      setSelectedImage(result.assets[0].uri);
      setShowAppOptions(true);
    } else {
      alert('You did not select any image.');
    }
  };

  const onReset = () => {
    setShowAppOptions(false);
  };

  const onAddSticker = () => {
    setIsModalVisible(true);
  };

  const onModalClose = () => {
    setIsModalVisible(false);
  };

  const onSaveImageAsync = async () => {
    if (Platform.OS !== 'web') {
      try {
        const localUri = await captureRef(imageRef, {
          height: 440,
          quality: 1,
        });

        await MediaLibrary.saveToLibraryAsync(localUri);
        if (localUri) {
          alert('Saved!');
        }
      } catch (e) {
        console.log(e);
      }
    } else {
      try {
        const dataUrl = await domtoimage.toJpeg(imageRef.current, {
          quality: 0.95,
          width: 320,
          height: 440,
        });

        let link = document.createElement('a');
        link.download = 'sticker-smash.jpeg';
        link.href = dataUrl;
        link.click();
      } catch (e) {
        console.log(e);
      }
    }
  };

  return (
    <GestureHandlerRootView style={styles.container}>
      <View style={styles.imageContainer}>
        <View ref={imageRef} collapsable={false}>
          <ImageViewer imgSource={PlaceholderImage} selectedImage={selectedImage} />
          {pickedEmoji && <EmojiSticker imageSize={40} stickerSource={pickedEmoji} />}
        </View>
      </View>
      {showAppOptions ? (
        <View style={styles.optionsContainer}>
          <View style={styles.optionsRow}>
            <IconButton icon="refresh" label="Reset" onPress={onReset} />
            <CircleButton onPress={onAddSticker} />
            <IconButton icon="save-alt" label="Save" onPress={onSaveImageAsync} />
          </View>
        </View>
      ) : (
        <View style={styles.footerContainer}>
          <Button theme="primary" label="Choose a photo" onPress={pickImageAsync} />
          <Button label="Use this photo" onPress={() => setShowAppOptions(true)} />
        </View>
      )}
      <EmojiPicker isVisible={isModalVisible} onClose={onModalClose}>
        <EmojiList onSelect={setPickedEmoji} onCloseModal={onModalClose} />
      </EmojiPicker>
    </GestureHandlerRootView>
  );
}

const styles = StyleSheet.create({
  container: {
    flex: 1,
    backgroundColor: '#25292e',
    alignItems: 'center',
  },
  imageContainer: {
    flex: 1,
  },
  footerContainer: {
    flex: 1 / 3,
    alignItems: 'center',
  },
  optionsContainer: {
    position: 'absolute',
    bottom: 80,
  },
  optionsRow: {
    alignItems: 'center',
    flexDirection: 'row',
  },
});
dom-to-image の TypeScript モジュールエラーを修正する
TypeScript を使用しているため、domtoimage ライブラリをインポートした後に型定義を追加する必要があります。プロジェクトディレクトリのルートに types.d.ts ファイルを作成し、次の宣言文を追加します。
declare module 'dom-to-image';
これで、web ブラウザでアプリを実行するとスクリーンショットを保存できます。
まとめ
第 8 章:プラットフォームの違いに対応する
目指していた機能をすべてアプリに実装できました。次は見た目の部分に焦点を移していきましょう。
次の章では、アプリのステータスバー、スプラッシュスクリーン、アプリアイコンをカスタマイズします。