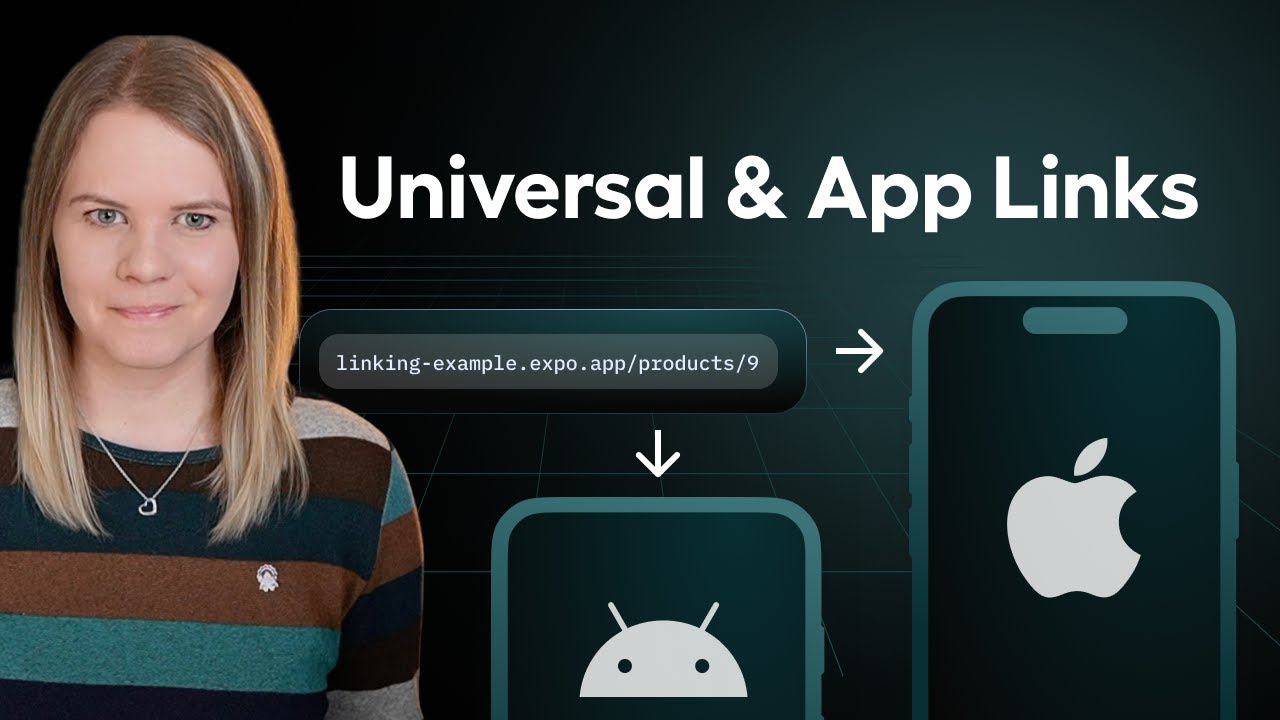
iOS Universal Links
Edit page
Learn how to configure iOS Universal Links to open your Expo app from a standard web URL.
To configure iOS Universal Links for your app, you need to set up the two-way association to verify your website and native app.
Learn how to configure iOS Universal Links so your Expo app opens from standard web URLs.
Set up two-way association
To setup two-way association between the website and app for iOS, you need to perform the following steps:
- Website verification: This requires creating a apple-app-site-association (AASA) file inside the /.well-known directory and hosting it on the target website. This file is used to verify that the app opened from a given link is the correct app.
- Native app verification: This requires some form of code signing that references the target website domain (URL).
Create AASA file
Create an apple-app-site-association file for the website verification inside the /.well-known directory. This file specifies your Apple Developer Team ID, bundle identifier, and a list of supported paths to redirect to the native app.
You can run the experimental CLI commandnpx setup-safariinside your project to automatically register a bundle identifier to your Apple account, assign entitlements to the ID, and create an iTunes app entry in the store. The local setup will be printed and you can skip most the following. This is the easiest way to get started with universal links on iOS.
If you're using Expo Router to build your website (or any other modern React framework such as Remix, Next.js, and so on), create the AASA file at public/.well-known/apple-app-site-association. For legacy Expo webpack projects, create the file at web/.well-known/apple-app-site-association.
{
  // This section enables Universal Links
  "applinks": {
    "apps": [],
    "details": [
      {
        // Syntax: "<APPLE_TEAM_ID>.<BUNDLE_ID>"
        "appID": "QQ57RJ5UTD.com.example.myapp",
        // All paths that should support redirecting.
        "paths": ["/records/*"]
      }
    ]
  },
  // This section enables Apple Handoff
  "activitycontinuation": {
    "apps": ["<APPLE_TEAM_ID>.<BUNDLE_ID>"]
  },
  // This section enable Shared Web Credentials
  "webcredentials": {
    "apps": ["<APPLE_TEAM_ID>.<BUNDLE_ID>"]
  }
}
In the above example:
- Any links to
https://www.myapp.io/records/*(with wildcard matching for the record ID) should be opened directly by the app with a matching bundle identifier on an iOS device. It is a combination of the Apple Team ID and the bundle identifier. - The
*wildcard does not match domain or path separators (periods and slashes). - The
activitycontinuationandwebcredentialsobjects are optional, but recommended.
See Apple's documentation for further details on the format of the AASA. Branch provides an AASA validator which can help you confirm that your AASA is correctly deployed and has a valid format.
Supporting details format
The details format is supported as of iOS 13. It allows you to specify:
appIDsinstead ofappID: Makes it easier to associate multiple apps with the same configuration- An array of
components: Allows you to specify fragments, exclude specific paths, and add comments
An example AASA JSON from Apple's documentation
{
  "applinks": {
    "details": [
      {
        "appIDs": ["ABCDE12345.com.example.app", "ABCDE12345.com.example.app2"],
        "components": [
          {
            "#": "no_universal_links",
            "exclude": true,
            "comment": "Matches any URL whose fragment equals no_universal_links and instructs the system not to open it as a universal link"
          },
          {
            "/": "/buy/*",
            "comment": "Matches any URL whose path starts with /buy/"
          },
          {
            "/": "/help/website/*",
            "exclude": true,
            "comment": "Matches any URL whose path starts with /help/website/ and instructs the system not to open it as a universal link"
          },
          {
            "/": "/help/*",
            "?": {
              "articleNumber": "????"
            },
            "comment": "Matches any URL whose path starts with /help/ and which has a query item with name 'articleNumber' and a value of exactly 4 characters"
          }
        ]
      }
    ]
  }
}
To support all iOS versions, you can provide both the above formats in your details key, but we recommend placing the configuration for more recent iOS versions first.
Host AASA file
Host the apple-app-site-association file using a web server with your domain. This file must be served over an HTTPS connection. Verify that your browser can access this file.
After you have setup the AASA file, deploy your website to a server that supports HTTPS (most modern web hosts).
Native app configuration
After deploying your apple-app-site-association (AASA) file, configure your app to use your associated domain by adding ios.associatedDomains to your app config. Make sure to follow Apple's specified format and not include the protocol (https) in your URL. This is a common mistake that will result in the universal links not working.
For example, if an associated website is https://expo.dev/, the applinks is:
{
  "expo": {
    "ios": {
      "associatedDomains": ["applinks:expo.dev"]
    }
  }
}
Build your iOS app with EAS Build which ensures that the entitlement is registered with Apple automatically.
Manual native configuration
If you're not using EAS or Continuous Native Generation (npx expo prebuild), you have to manually configure the Associated Domains capability for your bundle identifier.
If you enable through the Apple Developer Console, then make sure to add the following entitlements in your ios/[app]/[app].entitlements file:
<key>com.apple.developer.associated-domains</key>
<array>
  <string>applinks:expo.dev</string>
</array>
Native app verification
Install the app on your iOS device to trigger the verification process. A link to your website on your mobile device should open your app. If it doesn't, re-check the previous steps to ensure that your AASA is valid, the path specified in the AASA, and you have correctly configured your App ID in the Apple Developer Console.
Once you have your app opened, see Handle links into your app for more information on how to handle inbound links and show the user the content they requested.
iOS downloads your AASA when your app is first installed or when updates are installed from the App Store. The operating system does not refresh frequently after that. If you want to change the paths in your AASA for a production app, you will need to issue a full update via the App Store so that all of your users' apps re-fetch your AASA and recognize the new paths.
Apple Smart Banner
If a user doesn't have your app installed, they'll be directed to the website. You can use the Apple Smart Banner to show a banner at the top of the page that prompts the user to install the app. The banner will only show up if the user is on a mobile device and doesn't have the app installed.
To enable the banner, add the following meta tag to the <head> of your website, replacing <ITUNES_ID> with your app's iTunes ID:
<meta name="apple-itunes-app" content="app-id=<ITUNES_ID>" />
If you're having trouble setting up the banner, run the following command to automatically generate the meta tag for your project:
- npx setup-safariAdd the meta tag to your statically rendered website
If you're building a statically rendered website with Expo Router, then add the HTML tag to the <head> component in your src/app/+html.js file.
import { type PropsWithChildren } from 'react';

export default function Root({ children }: PropsWithChildren) {
  return (
    <html lang="en">
      <head>
        <meta charSet="utf-8" />
        <meta httpEquiv="X-UA-Compatible" content="IE=edge" />
        <meta name="apple-itunes-app" content="app-id=<ITUNES_ID>" />
        {/* Other head elements... */}
      </head>
      <body>{children}</body>
    </html>
  );
}
Debugging
Expo CLI enables you to test iOS Universal Links without deploying a website. Utilizing the --tunnel functionality, you can forward your dev server to a publicly available HTTPS URL.
1
Set the environment variable EXPO_TUNNEL_SUBDOMAIN=my-custom-domain where my-custom-domain is a unique string that you use during development. This ensures that your tunnel URL is consistent across dev server restarts.
2
Add associatedDomains to your app config as described above. Replace the domain value with a Ngrok URL: my-custom-domain.ngrok.io.
3
Start your dev server with the --tunnel flag:
- npx expo start --tunnel4
Compile the development build on your device:
- npx expo run:iosYou can now type your custom domain link in your device's web browser to open your app.
Troubleshooting
Here are some common tips to help you troubleshoot when implementing iOS Universal Links:
- Read Apple's official documentation on debugging universal links
- Ensure your apple app site association file is valid by using a validator tool.
- The uncompressed
apple-app-site-associationfile cannot be larger than 128kb. - Ensure your website is served over HTTPS.
- If you update your web files, rebuild the native app to trigger a server update on the vendor side (Apple).